Showing posts with label sous vide. Show all posts

Wednesday, March 23, 2016

Jamaica Sweet & Hot Jerky


This was not preplanned but when I saw this sauce I thought it would make a good Jerky. Oh yea I was at Costco when I came across this sauce which of course is my favorite store of all time. Anyhow I ran over to the meat section and I purchased what I think is the best meat for Jerky. I happen to love Top Round for Jerky. Just make sure to cut it against the grain unless gnawing is your thing. 


I made my Jerky in my brand new Excalibur Dehydrator. This baby is the BOMB. All stainless steel and ten shelves. It will hold 20 lbs of meat. Google it and you will want to buy one. 


Anyhow I took the meat (ALL 16 LBS) and partially froze it so it would be easier to slice. Remember slice it against the grain into 1/4 -3/8 of an inch.

This is a simplistic recipe that has 3 ingredients. I added the whole container of Jamaica sauce, approximately one cup of Soy and some Agave for sweetness. I also added .25% of Cure # 1 to the concoction which equates to 18 grams. More on this later. If you're like me you're gonna want to taste everything and make adjustments if necessary. Just remember to Taste before  you add the CURE.  


Because of my schedule the meat marinated for 36 hours but 24 would have been adequate.


I had seven racks filled with Jerky. Lets recap quickly. Partially freeze meat, cut across grain to desired thickness and mariante. 


I dehydrated the Jerky at 135 degrees for about 11 hours and then 2 more at 100 degrees. I find the lower temps help with texture. My last batch needed less time though. 


Safety and Jerky

I don't want to go on a rant or lecture about Beef Jerky but there are some precautions you need to take. The amount of jerky recipes out there pales in comparison to the amount of opinions there are about how to make Beef Jerky properly. You can google to you're blue in the face and everyone has an opinion. There are a lot of rules out there and if you want to explore them I have collected on my BLOG. Click the Link HERE and go to the bottom and click on the desired information. 

This is what I do. I make sure there is adequate salt levels. If I am using a dry rub I use 2.5-3% salt. If I use a marinade I go by taste and experience. I use Cure # 1 because I tend to like my Jerky a little moister than others and cannot guarantee that the AW will be below the 85 threshold to ward off Botulism. I store my Jerky vacuum sealed in bags hence Cure # 1. I refuse to pasteurize like the USDA suggest so I have an alternate way of doing it that provides great texture. I pack all the Jerky in Vacuum sealed bags no thicker than an inch and Sous-Vide at 135 degrees for a minimum of two hours. I prefer 3-4 hours for improved texture. All cured and pasteurized. 

Review with gratuitous pictures below-  So the sauce I purchased is great and it's spicy. However when used as a marinade for Jerky it loses some of it's kick. The sauce contains oil and the jerky came out a little greasy. Overall it tasted very good but I want awesomeness. Will I use it again? Maybe with a little different approach. Again it tasted very good and it was not awesome!!!


VACUUMED SEALED FOR SOUS VIDE


ALL 16 LBS SITTING IN WATER BATH
MEAT AT THE BOTTOM OF PLASTIC CONTAINER AND WEIGHTED DOWN. 


Friday, September 25, 2015

Shefele "פּאַסטראָמע" Pastróme

Shefele "פּאַסטראָמע" Pastróme

Lamb Pastrami with a touch of Yiddish flare. Why? Why not I say!!! I have made Beef, Turkey and Duck Pastrami so why not try Lamb and see what happens. I have a killer recipe that must stretch its wings. Besides I love lamb. BTW-Shefele is Lamb in Yiddish. 


Let's begin the journey by saying I have been wanting to make Lamb Pastrami for quite some time but sourcing American Lamb is hard and I am very picky. I went to Ray's Meat Market in Gig Harbor and purchased the perfect boneless Leg of Lamb. I looked at about a half a dozen until I found the right one. I wanted the leg to be big but have the right shape. My buddy Mike works there and he was nice enough to bring them all out for me to pick from.  


Unpacking the Lamb and evaluating how I wanted to proceed. Yes every step is important. 


Ok....all unpacked. This is the step where I decide how I am going to reconstruct the Lamb into a Pastrami. I looked at every opening and decided on a course of action. I planned on using Transglutaminase to bind the meat. I wish my daughter was home to assist with the camera. I was not able to take pictures and apply TG and wrap in plastic.

So I applied the TG to every opening, nook, cranny, and to every knife mark. I wanted all the proteins be bind and be seamless. I used probably 6 feet of plastic wrap to ensure the the shape of the lamb. I used rope and several tying techniques to secure lamb. 


Vacuumed sealed up to ensure shape and help bind the proteins. It will take a minimum of 24 hours for the proteins to bind. 


A thing of beauty. I waited about 30 hours before unveiling.


Perfect!!!!


As always I took the whole spices herbs,(Bay Leaf, Grains of Paradise, Coriander,Juniper berries, Whole cloves and mustard seeds) and placed them in a dry pan and applied a little heat to them to bring out their oils. Ground in a spice grinder. NOTE: Picture is not from this recipe. 


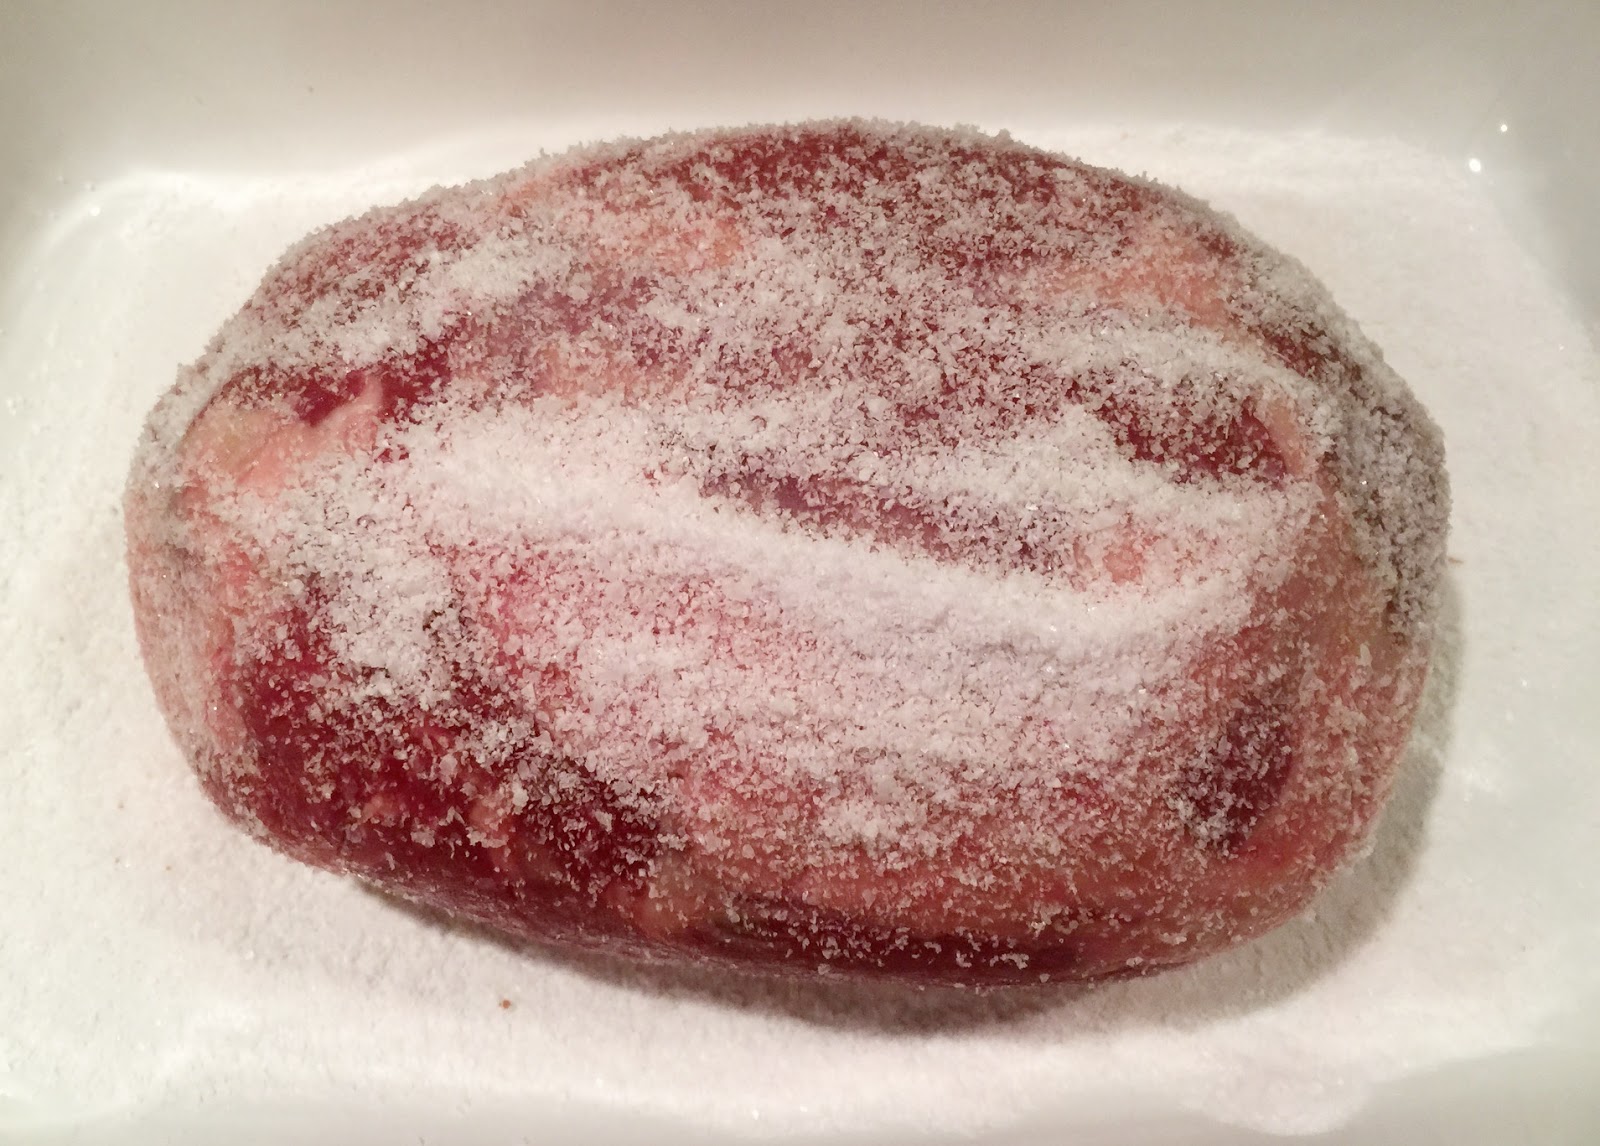
One technique that is unique to my process is the way I apply the dry-rub and cure. Some people combine the salt/cure, herbs and spices together first then apply to meat. I like to first combine the Salt, cure then apply to meat making sure I get it into every nook and cranny. When you apply everything at once some of the rub is going to run off the meat and you never know how much cure actually got on the meat. It's imperative that the right amount of salt and cure makes its way on to the meat. 


Now the simple part. Combine the rest of the ingredients and pack them on to the meat. There will excess rub that will fall to the side but don't worry about this. Make sure to coat every inch of the piece of meat. No rub will go to waste because the excess rub will be tossed in bag.


Carefully place your meat into a vacuum seal bag making sure not to scrape off too much rub. Make sure all salt and rub gets into that bag. Refrigerate and flip every day for 21 days. If this was a smaller piece of meat it would only need about 14 days. I am using a precise equilibrium cure so I am not worried about over curing because that can't happen. 

Meat is all cure now and ready for the next step. I actually cured the lamb for 25 days instead of 21. I think it's important to point out that I was right on the cusp of having to inject the cure but only time will tell if I was right or not. It's girth is somewhat big and I wanted to make sure the salt and cure made its way into the center. 


Rub applied and ready for smoke. I spray a little canola oil on the lamb to help the rub adhere. 


In my smoker and will cold-smoke for 9 hours using A-Maze-N cold-smoker. Note: outside temp was only about 60 f and by night time it had fallen to about 47˚ƒ. 


COLD SMOKED FOR 9 HOURS

Next step will be a double vacuum bag seal. The Lamb will be Sous-Vide at 131˚ƒ for 12 hours. note: important part!!! After the long thermal bath I will shock the lamb in an Ice-Water bath, refrigerate overnight. The following day or there abouts I wll hot smoke the Lamb. 

This beautiful lamb was Sous-Vide for 12 hours at 131˚ƒ. Came out perfect. I am coating coarse ground black pepper for the next step. 

Hot smoked between 180-205˚ƒ until an internal temp of 142˚ƒ is reached. 

The review following gratuitous pictures. 


Review- It came out great as expected. I used a lot of my other recipes to extrapolate a perfect recipe. It cured actually 25 days instead of 21. It was on the thick side and was concerned about cure reaching the center. Any thicker I would have injected the cure at 200 ppm than dry-cured for 21 days. The 131˚ƒ was perfect!! I will say having a professional Berkel slicer really helps. Slicing this by hand and getting this thin slices is the key to a perfect lamb pastrami. If you don't have a slicer you may need to cook it at higher temp or a little longer to get if softer to slice.  


Note: things to consider. Cure the lamb in this stage which will help the cure penetrate the center.  After cured apply TG and wrap up. 


Thursday, March 26, 2015

Turkey Pastrami

Why another pastrami post? Well why not? I've made pastrami from just about every cut of meat out there (Kosher of course) so I thought why not Turkey? Yea, yea it's healthier but that's not why I am doing it. Simply put I am obsessed with the seasonings of pastrami. I am thinking about making Pastrami hot dogs, Salumi's, Salami's and many other combinations. 


This post will be very short. Please refer to my other Pastrami's for details. 

Start out with a large Turkey breast.

Remove wishbone and skin.
Separate breasts (1133 grams)
Combine Salt and Cure #1 apply to breasts.

Here is the recipe. Click Here for more details about how to apply %. 


Combine spices and rub them into every nook and cranny.
Vacuumed sealed. Will flip every day for 12-14 days.
14 days later all cured.
Rinsed off
Rub applied and cold smoked for 6 hours.

All vacuumed sealed and ready for Sous-Vide. I will SV for 5 hours and 30 minutes at 143 degrees. This time and temp combo will also pasteurize the breasts. 
All Sous-Vide...d
More cracked pepper added and hot smoked for a bit. Just enough to heat through and tighten bark.


OVER ALL IT CAME OUT VERY GOOD. BUT HECK IT'S TURKEY AND I PEFER BEEF. Next time I need to focus and getting it a bit more moist. 

UPDATED RECIPE CLICK HERE

TOP OF THE PAGE