Monday, March 26, 2018

Beef Tongstrami aka "Pastrami"


If you like fatty tasty Pastrami look no further than Beef Tongue. I've made Buffalo Tongue Pastrami a few times and it was the bomb so I thought I'd give Beef Tongue a go. Initial observations I would say the Beef Tongue is much larger and more dense. Take a look at the packages. The Buffalo Tongue weighed in at 2 lbs. The Beef Tongue weighed 6.76 lbs (although 2 in package)!!!

Take a look at these monsters. Very dense…. very thick. Unlike the Buffalo Tongues these babies are unyielding. If you look closely there's a lot of extra fat too. I will give it a little trim before the cure. Contrast these  Tongues with the Buffalo one and you can see the huge difference. 


The Buffalo Tongue was easy to work with. I unfolded the Tongue and measured it for fun. Pretty damn big. Not very thick at all. From the tip to the back of the Tongue it was fairly even. Very little fat too. No trimming necessary. The Buffalo Tongue measured in at about 14 inches where as the biggest beef one was only about 10 inches. 

Next step is pretty easy. Assemble all the Pastrami Cure ingredients. You can find my Rub and Cure Recipe HERE. I like to toast some of the ingredients first to bring out their natural oils. This is just optional. After you Toast them grind them through in a Spice mill and combine with the other ingredients. Keep Cure and Salt confined to their own bowls. 


Coat Tongues with Cure and Salt making sure to get into every nook and cranny. Next coat with the rest of the ingredients. 


Vacuum Seal and place in refrigerator for at least 21 days. Make sure toss & rotate it every day. This is an EQ cure so I wasn't concerned about over curing. These babies are thick so it might need to go longer than 21 days. We will see…..


I waited a full 22 days. They look cured to me so I proceeded to the next step. All rinsed off and dried. I placed a small fan in front of them for about 2 hours to ensure drying before placing in the Cold Smoker. Developing a nice pellilce will help the Tongue absorb the smoke. 


They will be cold smoke for about 10 hours. 


All Done!!! This is what 10 hours of Cold Smoke does to meat. All Vac sealed and ready for the SV. They will be SV at 142 ℉ for 48 hours. This is the perfect temp. After doing this several times I have finally dialed in the perfect T&T.
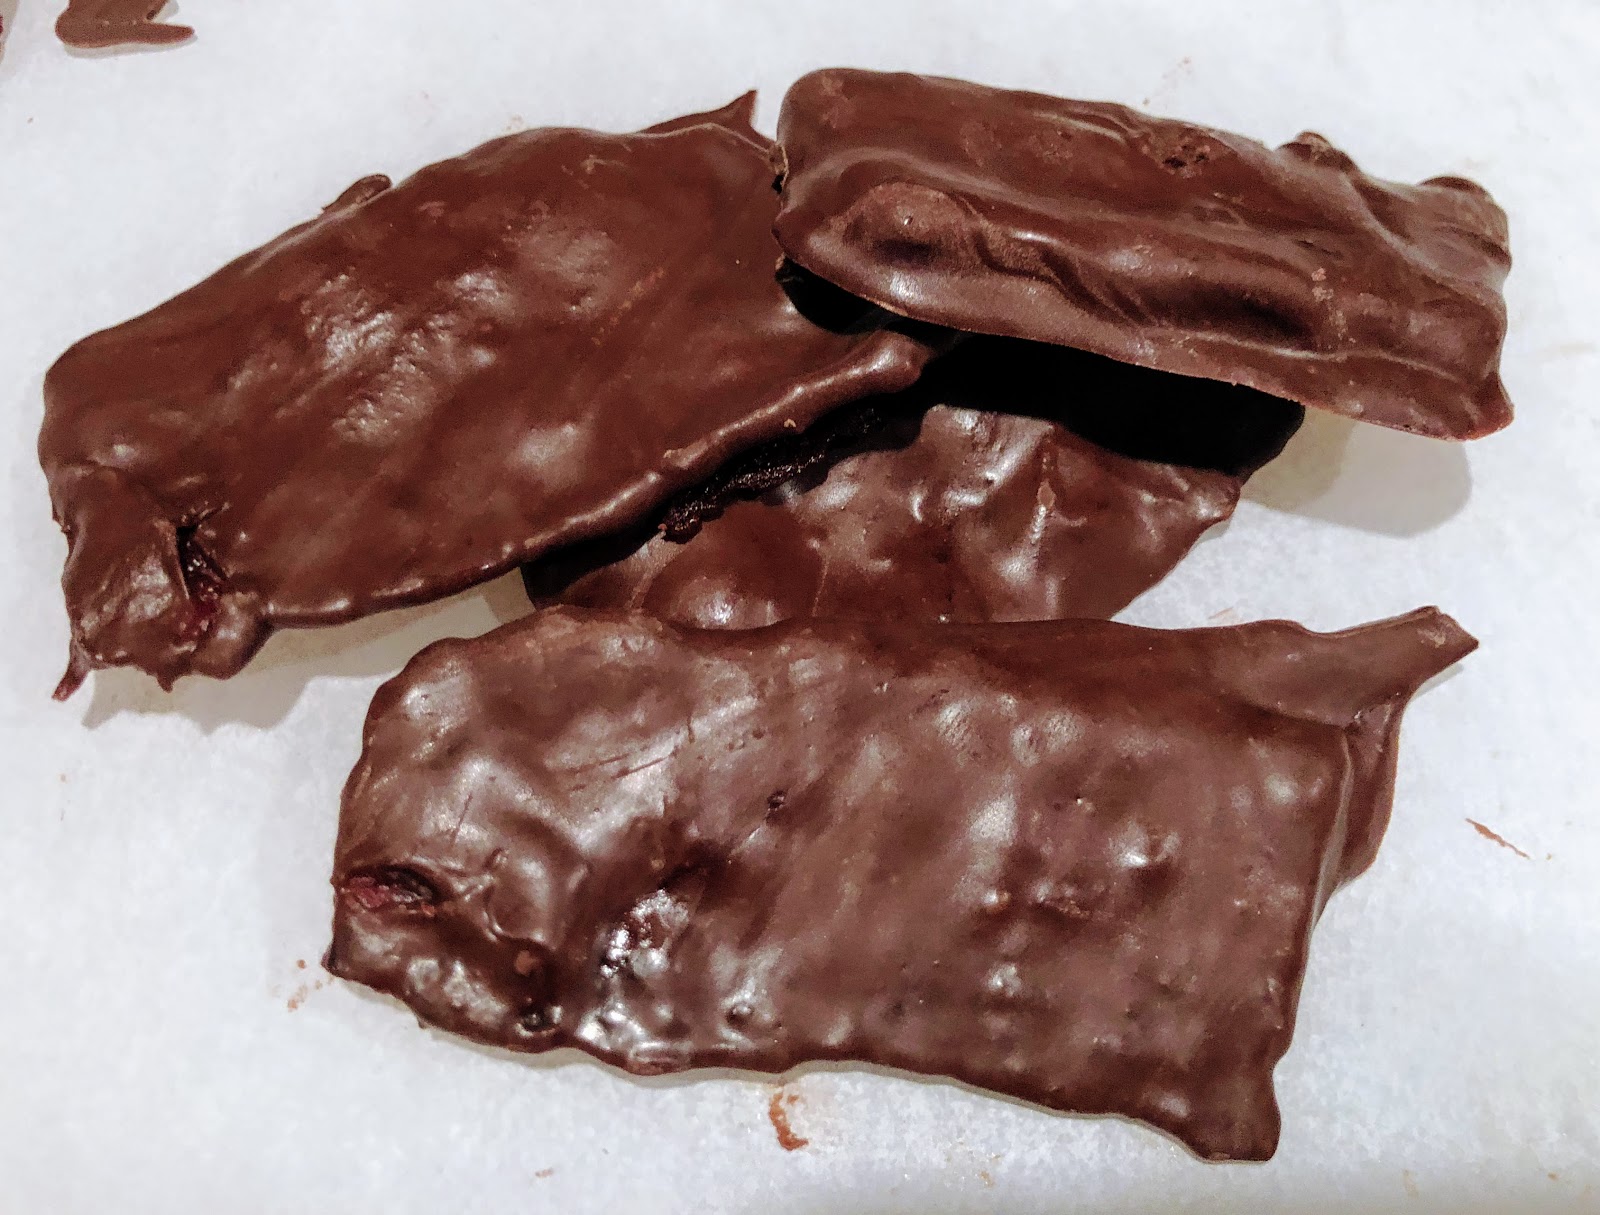
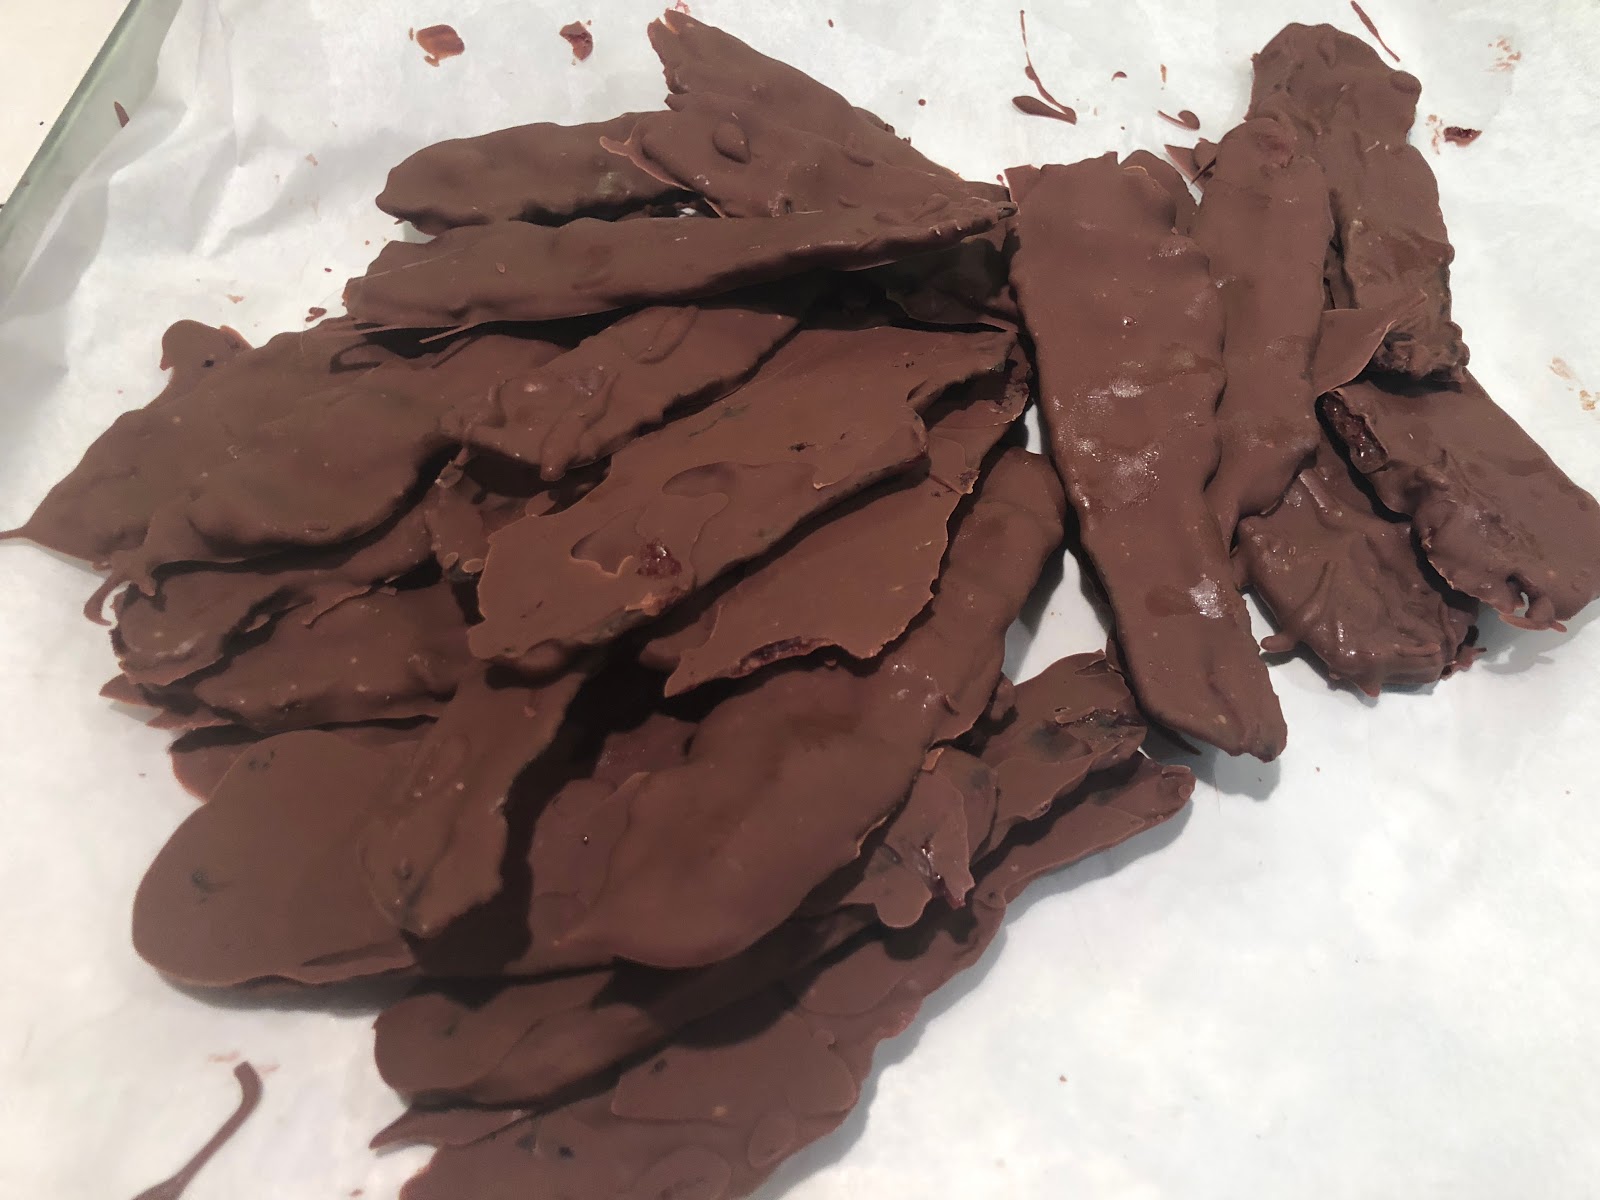

All Cooked and
they look beautiful. They need to cool a bit before they can be handled. You must peel off the taste buds while still somewhat hot. If you wait till they are cold you will destroy the meat. Ready set go… time to peel. 


All peeled. Again very easy to peel when hot. Don't even think about doing this when it's cold. After you peel them place get them cold by shocking. Place in refrigerator for at least 6 hours and preferably overnight. 

Coat with Rub….


Hot Smoke at

200℉-225℉ until internal temp of 142℉ is reached.


Make a Sandwich…..Review at bottom


Review- Delicious!!!! Although they came out perfect I prefer the Buffalo. Contrasting them is easy. The Beef Tongue had more intramuscular fat and had a softer chew to the Buffalo version. Both damn good but again I prefer the Buffalo. Textually from the tip to the back the Buffalo had a consistent  texture and mouth feel. 


TOP OF THE TONGUE


Saturday, March 24, 2018

Bacon- Chocolate Covered Raspberry Beef Bacon

I've been wanting to make this for quite some time but it required some thought. Obviously I need to decide which meat would work best for this Bacon treat. I am not a chocolatier either so I needed to do a little homework and see what chocolate would work well for this Bacon treat. I know this much about chocolate, in that tempered chocolate works well for candy glazes and it's probably the best to use!!!! Dang I didn't want to temper chocolate though….well at least not right now. Thankfully companies have made it easy for the consumer so I placed my order on Amazon. 

Anyhow I chose the brisket flat for the bacon. A few reasons…. first I don't eat treif (Un-Kosher meat) and secondly it does not contain a huge amount of fat so it won't shrink as much and it was available. This whole thing came about by chance. I was not planning on making chocolate bacon but I broke down a huge packer for another recipe called Kishke  and I was left with small flat. 


Just a simple recipe that requires very few ingredients. Heres my MAPLE BACON RECIPE. Combine the Salt, C #1 and Bacon Booster if using in a bowl. Combine Brown Sugar, Dextrose and Maple Sugar in another. Maple syrup in it's own bowl too. More links on how to make Bacon HERE.

Throughly coat flat with Salt/Cure mixture getting it into very nook and cranny. Coat with sugar mixture. Place in Vac bag or similar bag and pour in syrup. Place in refrigerator for 21 days flipping it every day.


After the 21 day cure I rinsed it off, dried with paper towel, placed on trivet, place small fan in front of the bacon to ensure drying. Drying the surface ensures a nice pellicle. Cold smoked for 12 hours. Slice to desired thickness. The slices weren't to thick and they weren't to thin either. On my Berkel it was set at a 2. 


Just about perfect. 


Fry Bacon up, cut to desired size, and pat dry.

In the following steps you have lots of options. Use or don't use a sweet spread. Add some Heat if you want to kick it up a bit too. Temper your own chocolate. If you own a Sous-Vide IC make sure to set at 90 f. I purchased commercially prepared chocolate for this application. Use your imagination and go crazy. 
Cannot get an easier than this….

Smear on some Raspberry Jam. Do not use preserves. 
And if you want to use 2 inch pieces. 
Kick it up a notch and add Chipotle powder. 


DAMN IS THIS GOOD….!!!!!!!!!

Update- 4/3/2018


 No temper chocolate 

 Using SV to Melt Chocolate